Showing posts with label burlap. Show all posts

Saturday, 22 November 2014

Tutorial - Printing on Burlap - Documenting December

There's one sure thing with a kit - it's bound to include some things which aren't are your usual list of supplies. For me it was a gorgeous 3x4 piece of burlap included in The Stamp Spot main kit. I was worried it could be my undoing *of sorts* but I really wanted to try something a little different with it.  

Since it is not something which I would normally use, I did lots of research in Pinterest *gotta love that place*.  I came across a great post by Megan at Spare Time Measures which showed how to print on burlap using my inkjet printer.  I figured... why not! After all, I could only muck it up :-)

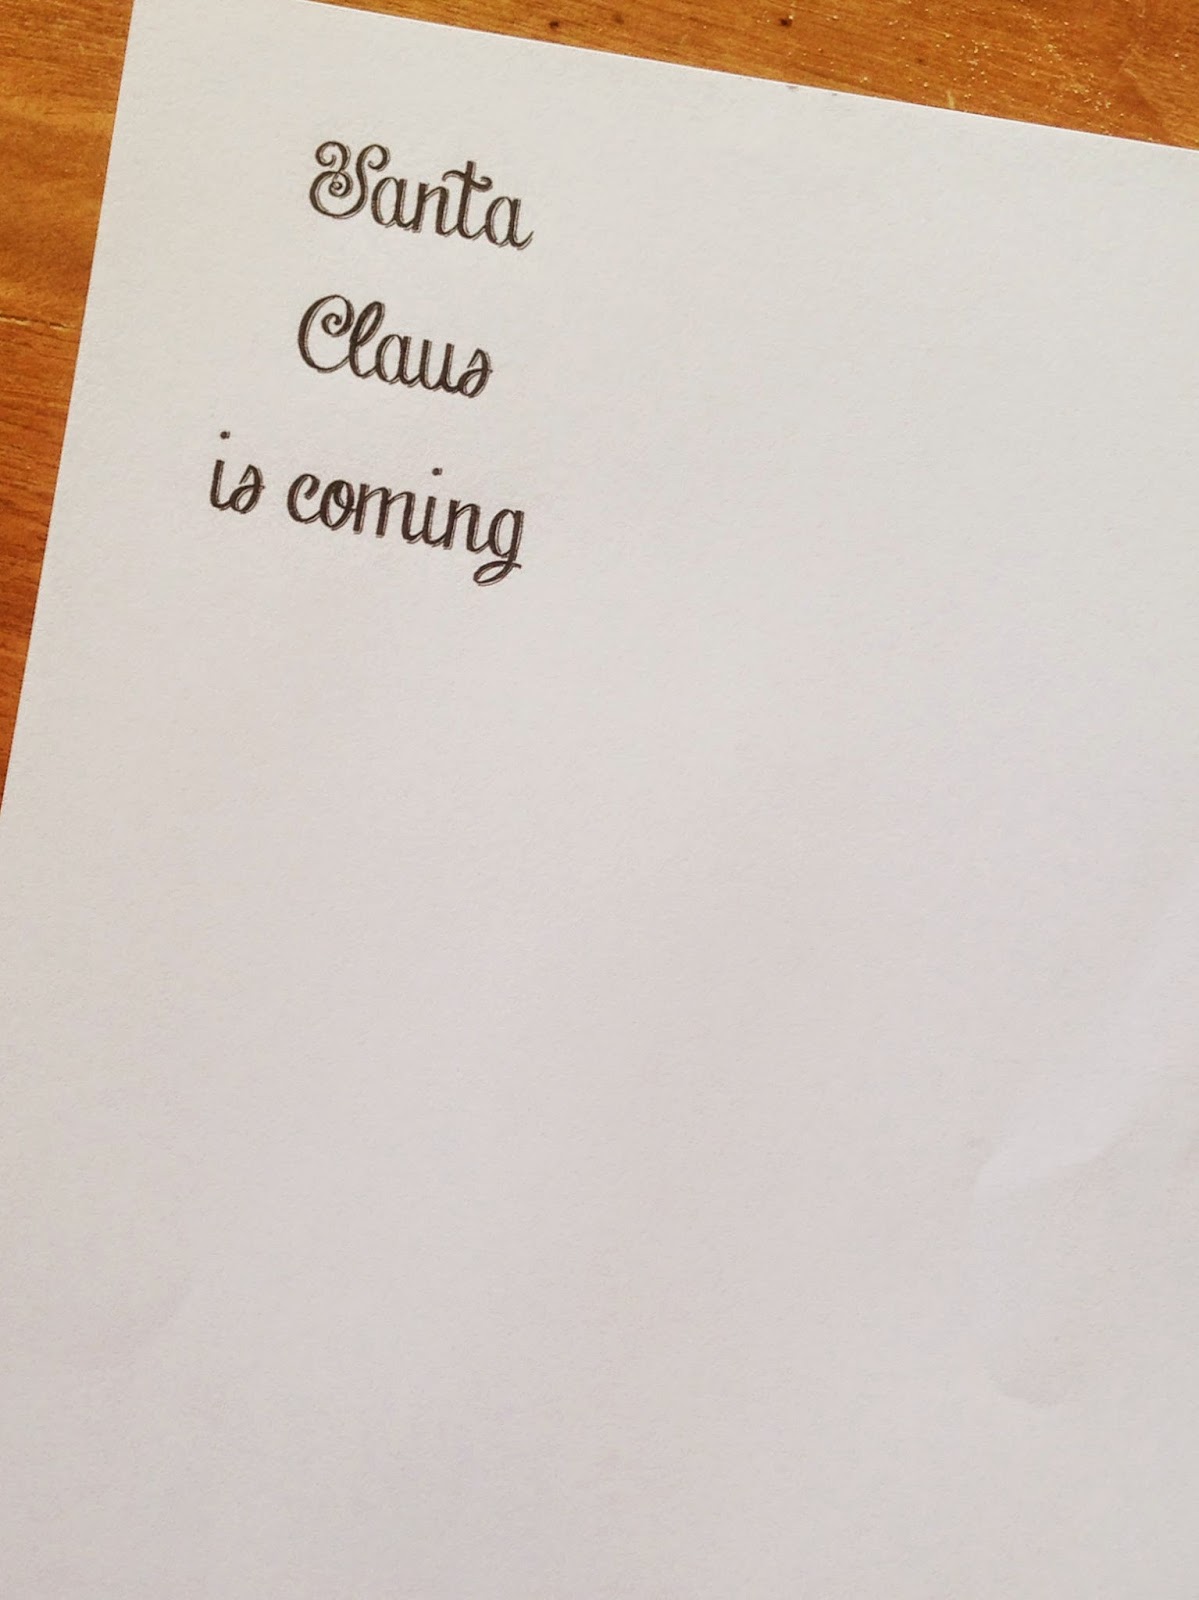
1.  Create your words/image in Microsoft Word.  I used a chalk board font which I love.  Use page setup to define your margins so you get the right size for your burlap.  Once you're happy, print it out to check placement, etc.  You may need to fiddle with this a bit and a few prints might be required. Keep your final print out.

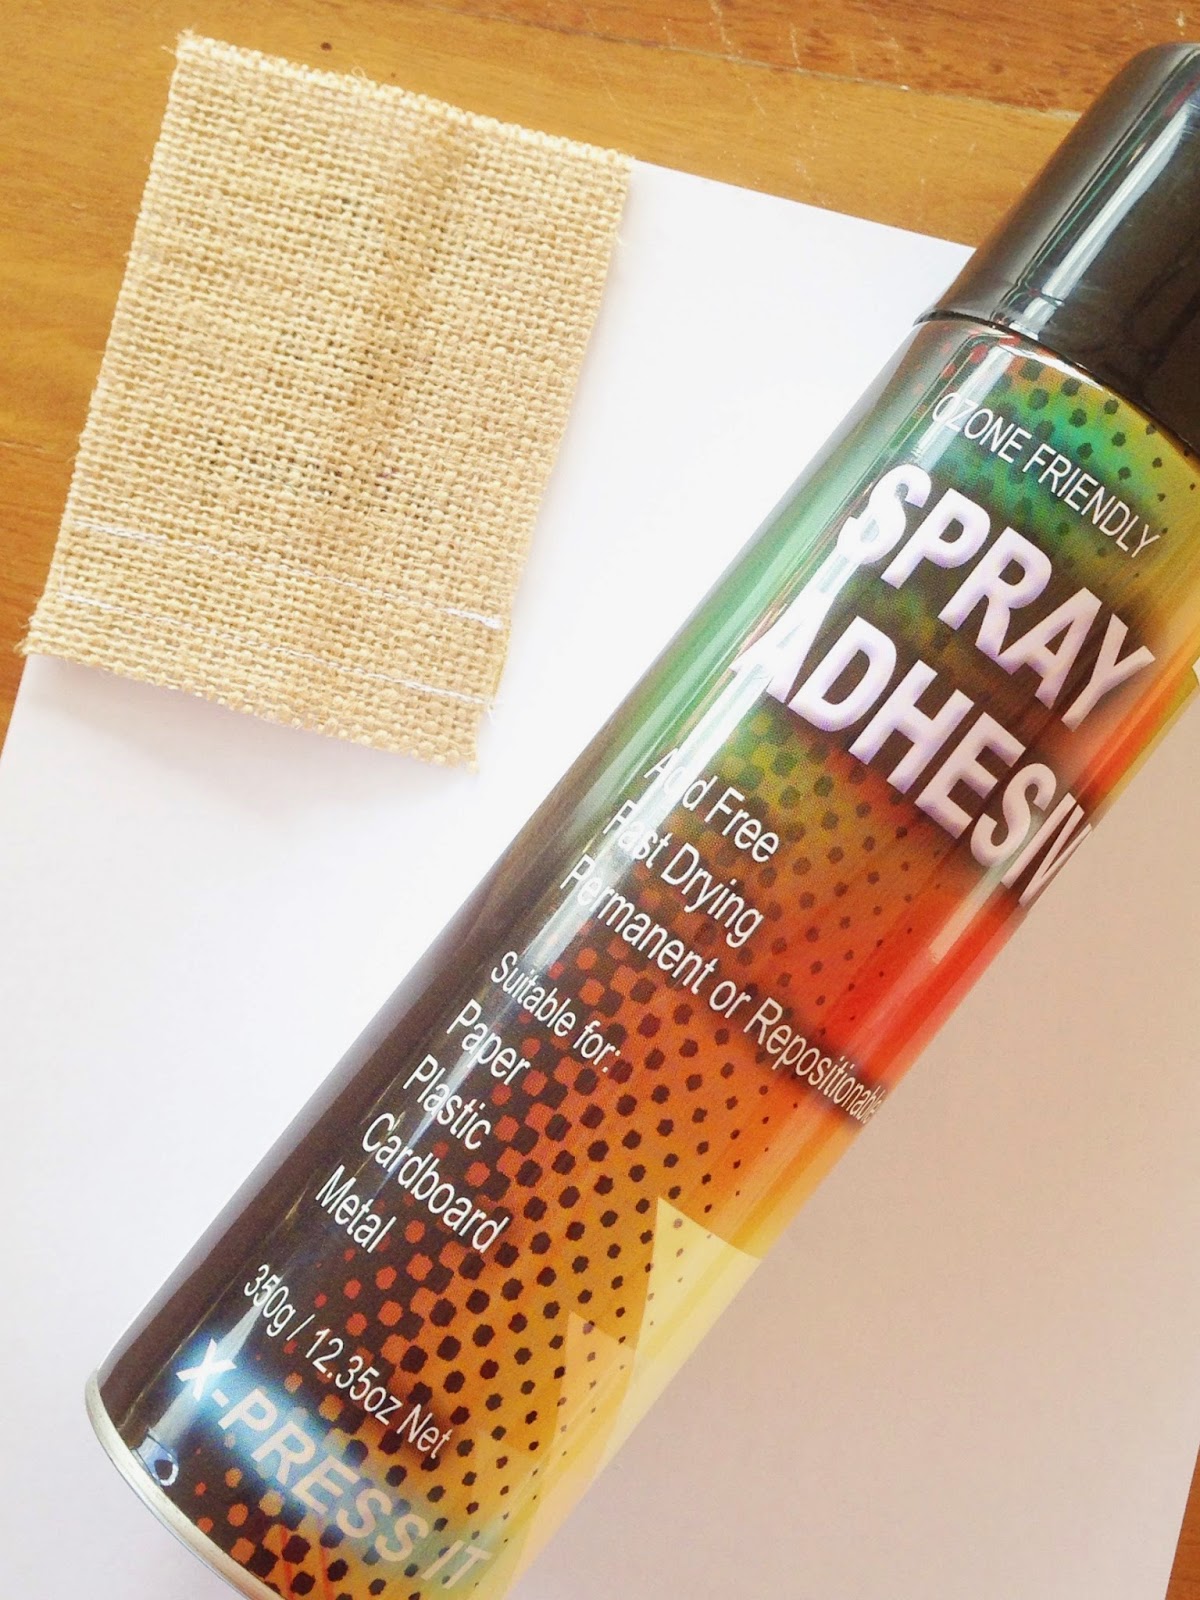
2.  When you are happy with your Word creation, spray a layer of Spray Adhesive straight onto your burlap.  It will need to be a reasonable layer so it sticks to the paper.  If it doesn't stick, just spray a little more adhesive. Stick the burlap over the top of your words/picture on your final printout.  This ensures it will print in just the right spot.
3.   Place the paper & burlap into your printer feed tray.  Make sure it is in the correct spot to print on your burlap (ie for my printer the burlap piece needed to be upside down and head first into the feed tray).

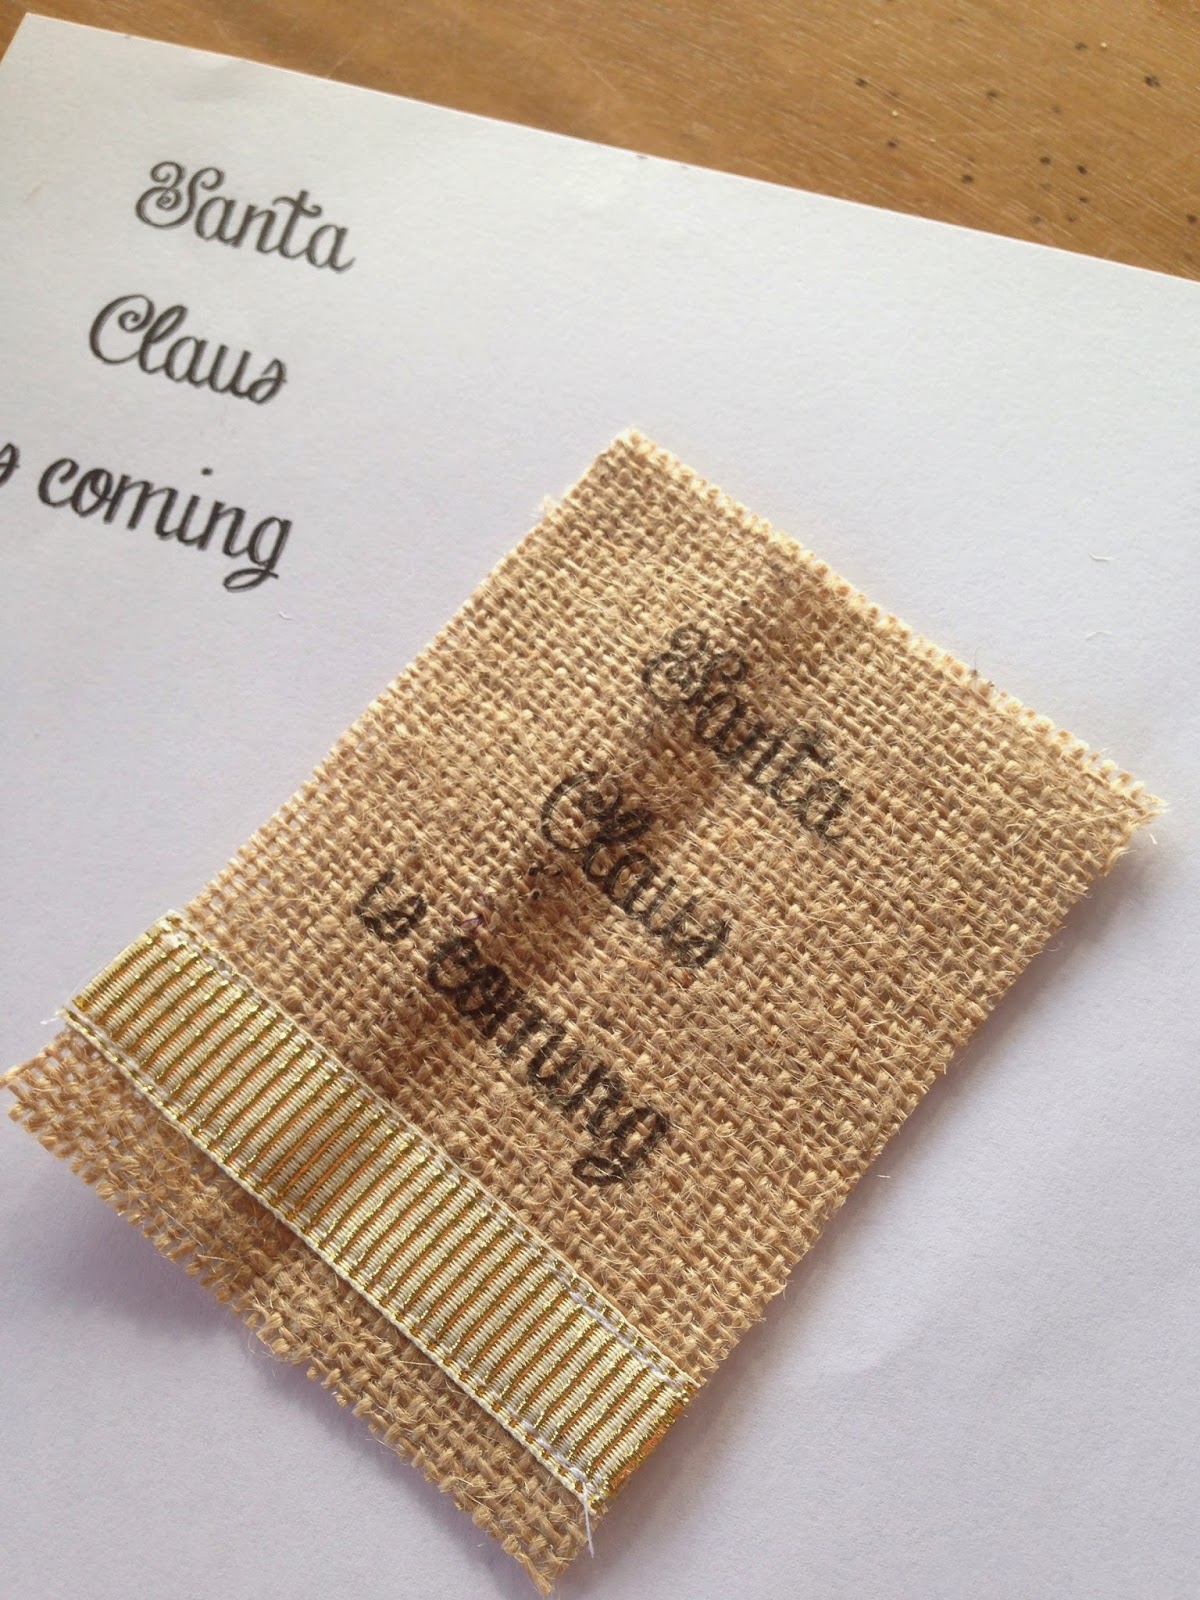
4.  Press print & presto *hopefully* it has worked!  I finished my burlap piece off by machine stitching a piece of gold ribbon across the bottom.  A small disclaimer, of course.  This may not work with your printer, but it was no problems with mine.  I use a HP Photosmart 7520.  Good luck!  I'd love to see your creation if you use this technique.


Thanks for stopping by to check out my December Daily progress.  I'll keep you updated with more photos of my foundation pages as they get created.  I'll also be posting to instagram so check that out too.

Also, keep  an eye on The Stamp Spot blog to be inspired from the other DT members.

Have a great day,


Documenting December - Foundation Pages

It's all go now for Documenting December.  Below are some of my foundation pages which I have created for The Stamp Spot Documenting December DT.  I'm somewhat ready for December to hit.   This is my first December Daily and I'm pretty excited.  I'm *hoping* that all my preparation will make for fairly smooth *yes, I say that loosely* scrapping in December.

I'm using the main - gold, white & kraft - kit as well as the red & teal add on kits.

Some pictures of my foundation pages:

Cover Page: This is my cover page. The photo is my focal point and I worked around that. I used a 6x8 page protector that I machine stitched into different pockets.
This is my cover page. The photo is my focal point and I worked around that. I used a 6x8 page protector that I machine stitched into different pockets, really wanted the shaker pocket!  This page is all from the TSS kit except the glitter red card at the top.  I have covered the button on the tag with washi from the red kit.

Day 8:
 This page is all from the TSS main kit.  Michelle created the 'joy' vellum card and the gorgeous shaker card. On the last card I have added a gold paper clip and used a Heidi Swapp PL stamp on a tag.  The number is also from the TSS kit.

Day 9:
 
All of the cards on this page come from the TSS kit and are from the Teresa Collins Tinsel & Co collection.  I have stamped a Kellie Stamps sentiment on the tree and added a gold foil and wood veneer star at the top.  On the 'believe' card I have coloured the letters using Heidi Swapp gold colour shine.

Day 22:
Apart from stamps, this page is all from the TSS kit.  The card on the top right is a piece of vellum which Michelle had already gold embossed.  I just added some Heidi Swapp stamps. And of course it will be a happy day - it's December!  The oval card started off as a sticker then I sprinkled some talcum powder on the back to remove the tack. I used my craft knife on a piece of gold washi to trim it to be thin washi.  I stamped the gold stars on the tag and added some gold/white twine and some sequins.  Lastly I have mounted the 'twinkle' sticker.  I'm really happy with how the oval pocket turned out.

Day 24:
All of these cards are from the TSS main kit.  The reindeers are a piece of printed acetate with washi & a sticker added.  The number card has a white cardstock base with washi tape across the corner.  I have used Heidi Swapp gold colour shine on the doily and also edged it with the gold ink from the kit.  The burlap piece I printed on with my inkjet printer (check out my tutorial) and I have machine stitched a piece of gold ribbon on the bottom.

Day 10:
 
The pocket card was created by Michelle and is from the TSS teal kit.  I have created a tag from white cardstock and added washi from the kit to the top.  The gold sticker is from the Freckled Fawn December Embellishment kit and the stamp is from Kellie Stamps.  On the outside of the pocket are enamel dots & a sticker from the kit.  The number is from the Freckled Fawn kit and under it is a washi covered die cut circle.  The other pocket is only that one circle on watercolour paper.  The stamp is from Kellie Stamps and I have used Tim Holtz distress markers to water colour the circle.  On the back of that circle is one of the TSS kit exclusive flairs.

Day 6:
  

I love the idea of being able to see through from one page to the next. To achieve this I'll be using lots of vellum, acetate and sequin pockets.  Another way I've done this is to sneak in a 4x4 page protector.To make it fit my album I've glued a piece of acetate along the spine and punched new holes.  It probably won't be the only one to make it into my album. :-)  The enamel dots, twine and vellum dot paper is from the TSS teal kit *and I just love it*.  The doily, stickers, tag and star sequin are from the TSS kit.  The stamp is from Heidi Swapp PL and the number from the Freckled Fawn kit.  I just love how this page looks.


Thanks for stopping by to check out my December Daily progress.  I'll keep you updated with more photos of my foundation pages and I'm planning *hoping* to blog at least every second day once December hits so keep checking back and I'll be posting to instagram so check that out too.

Also, keep  an eye on The Stamp Spot blog to be inspired by the foundation pages from the other DT members too.

Have a great day,